The sun and normal wear and tear can really take a toll on a kayak’s finish. When I bought the Anas Acuta that is the subject of this tutorial, it was somewhat the worse for wear, but it had potential to be beautiful again. However, there are a couple of things I want to state up front:
- I knew that Valley kayaks have thick gelcoat, so I could be pretty aggressive with the restoration without worrying about sanding through to the fiberglass. This is not true of most boats on the market, so this technique cannot be used on just anything.
- I did this as an experiment to see what was possible. It was a lot of work and I’m not sure if I would do it again, though the end result is pretty sweet…
I also made a stylistic choice that may not be everyone’s cup of tea; I decided to use the fading of the deck to create a somewhat subtle two-tone effect in a few areas. I like it, but I don’t expect everyone will feel the same way.
That said, let’s roll up our sleeves and work up a sweat!
This Anas Acuta deck looked like most well-used boats, gouged by paddles and faded by the sun. There are also distinct lines where the deck rigging protected the deck from the sun. This gave me an idea…

VCP decks have thick gelcoat, so restoration to better than new condition is possible.
WARNING: This may not work on boats with thinner gelcoat!
The first step is to get the color back by wet sanding. I started with 320 grit, then 400, 600, 800 and 1500. Yeah, it’s a lot of work and probably took a total of 10-12 hours of sweating and grunting. I only did this because I wanted to see what was possible.

This photo shows the difference in color where the deck had faded. I like the two-tone look, so I didn’t bother to try to restore the color in the hatch recesses. That also saved a lot of work. Eventually, I expect the deck to fade again and the colors will blend.

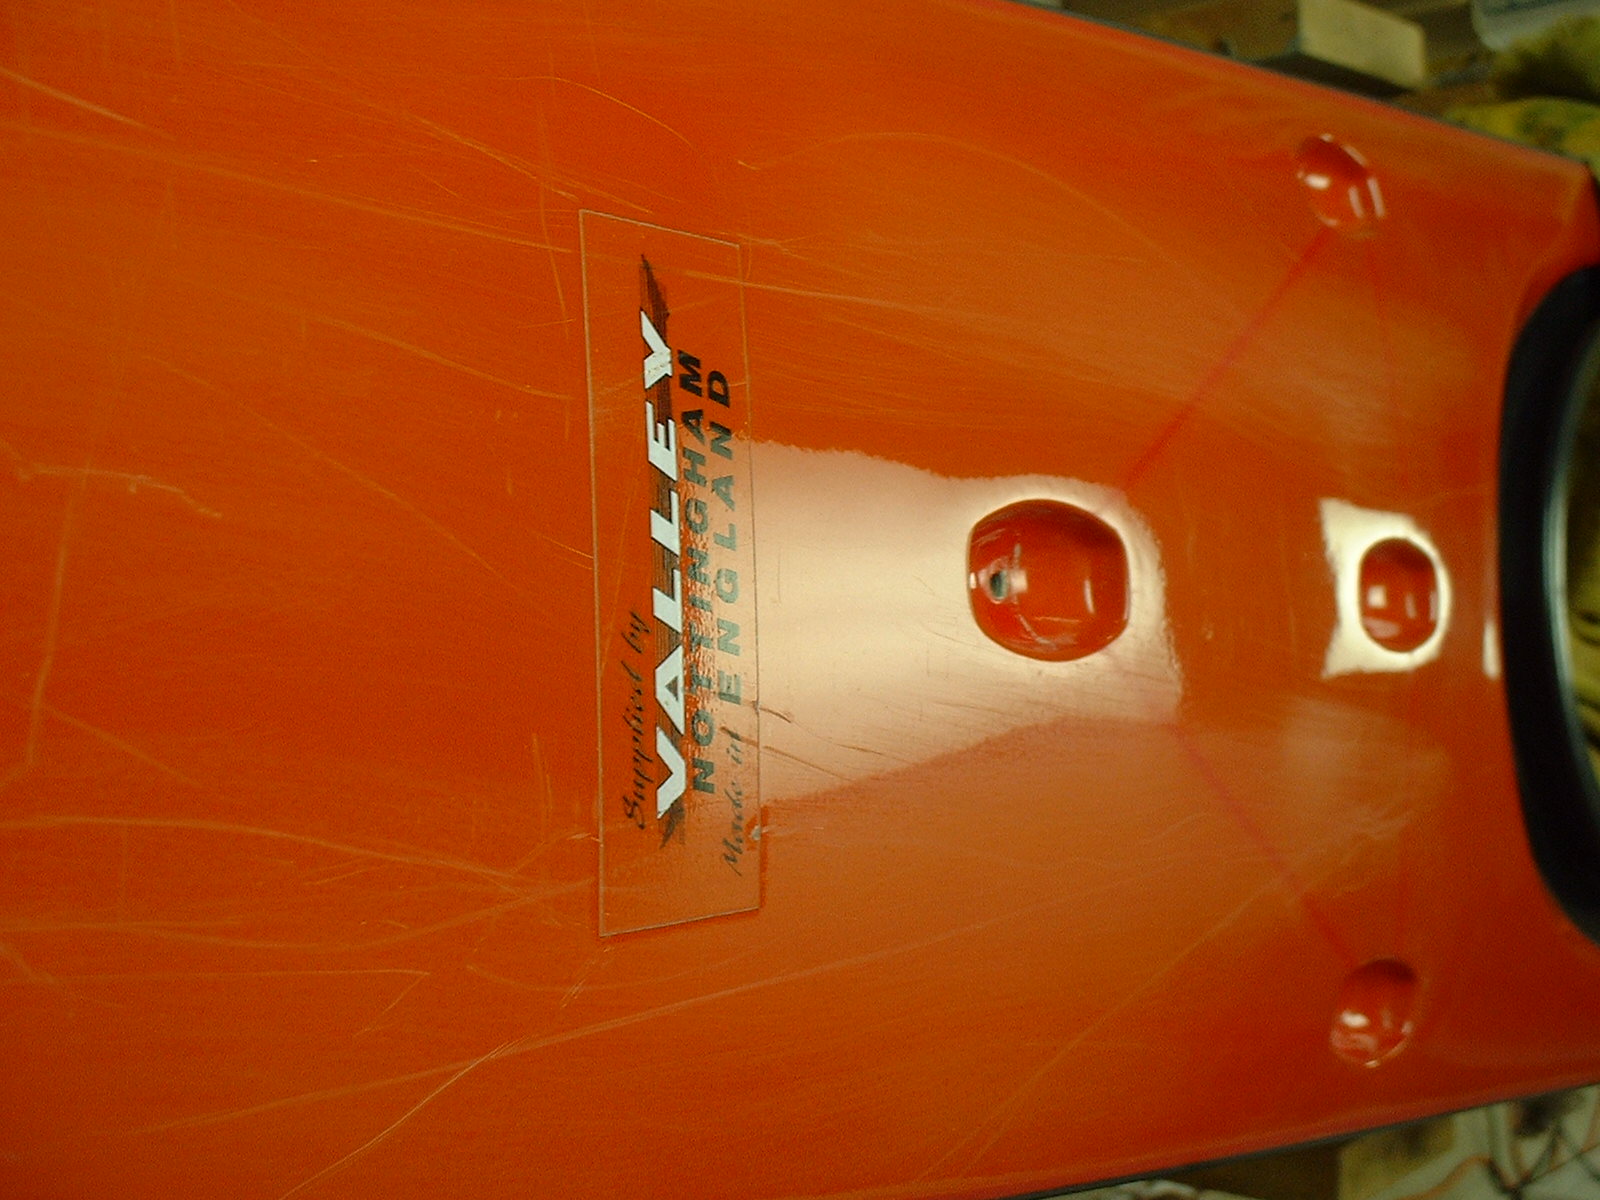
I sanded around the original decals, then removed them and buffed the “suntanned” logos into the surface. They’re now a permanent part of the deck, at least until it fades again.

After machine buffing repeatedly with rubbing compound and Dolphinite, the end result is a mirror finish.

The aft deck also shone like mirror. Once again, the decal area was left alone to provide some contrast.