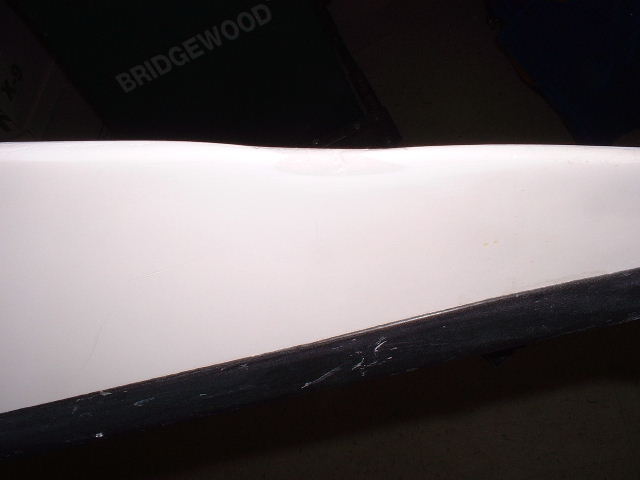
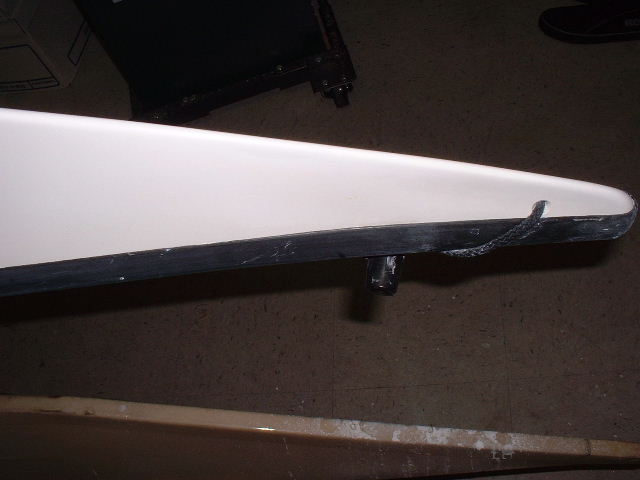
It’s a fact of life that if you own a composite kayak and actually use it, you’re going to damage the gelcoat eventually. At that point, you have choice:
“Do I take it to a professional or do it myself?”
Going the DIY route can literally save you hundreds of dollars and it has the added benefit of providing a real sense of accomplishment. Moreover, once you learn how simple it is, you’re more likely to maintain your boat in better condition.
The materials you need are readily available at marine supplier or via mail order. You can even find most of them at auto parts stores and “big boxes”. The money you save will more than pay for the initial investment and you’ll have enough materials left over for several more repairs.
Here’s what you need to know to get started in gelcoat repair, start to finish…
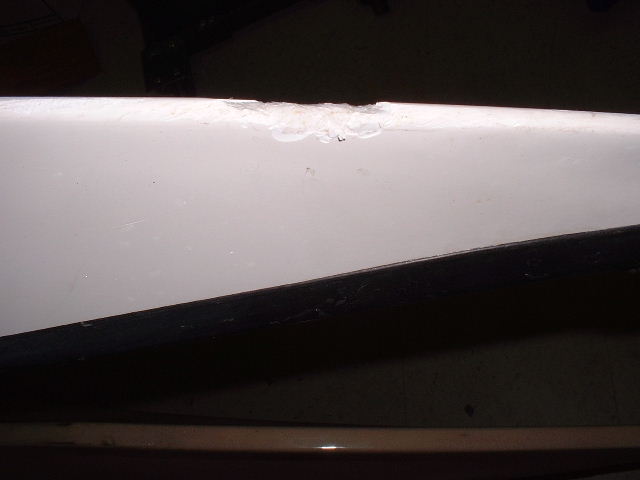
Rock play can be a bit tough on the ol’ gelcoat! Damage on an edge like this is the most difficult to repair, but even this isn’t hard to do.
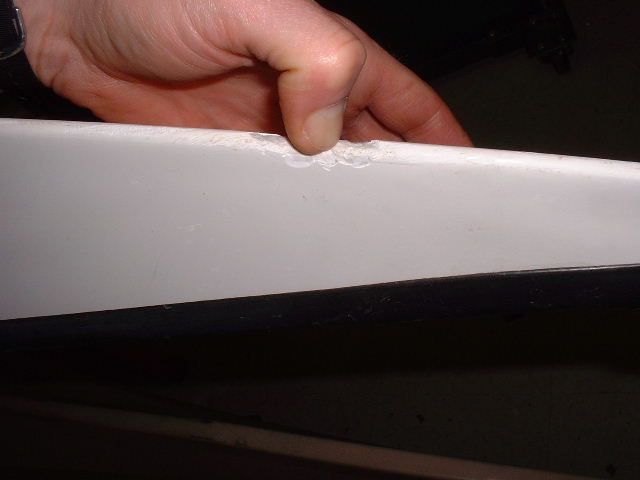
Evaluate the underlying structure by pushing on it with a thumbnail. If it’s soft, it must be ground away and replaced. Fortunately, this area is still solid.
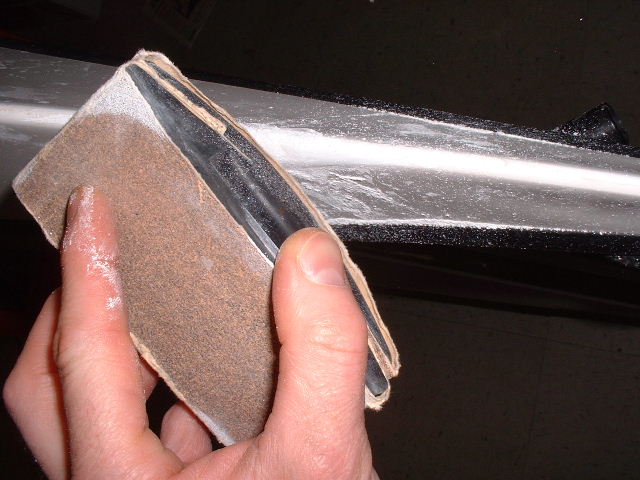
All of the damaged gelcoat must be sanded off and the edges needs to be feathered. I use 80 grit sandpaper on a double-sided (flat and curved), hard rubber block from an auto parts store. Wrapping the sandpaper around both sides lets you switch from flat to curved as necessary
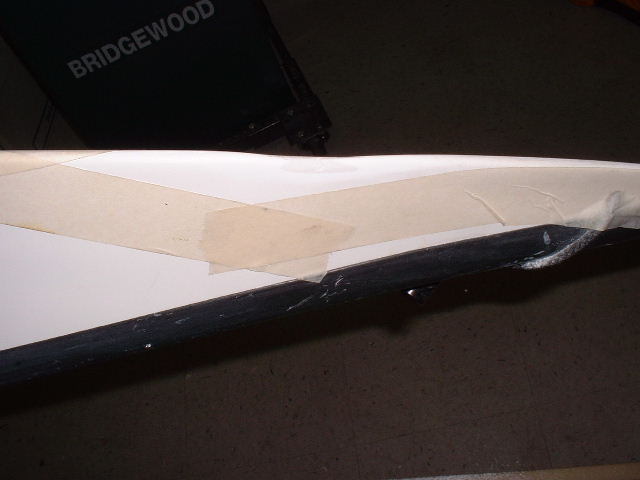
Masking tape helps to prevent drips and over-brushing from getting on undamaged areas. I left plenty of room around the repair area, since I planned to fill a few scratches as well.
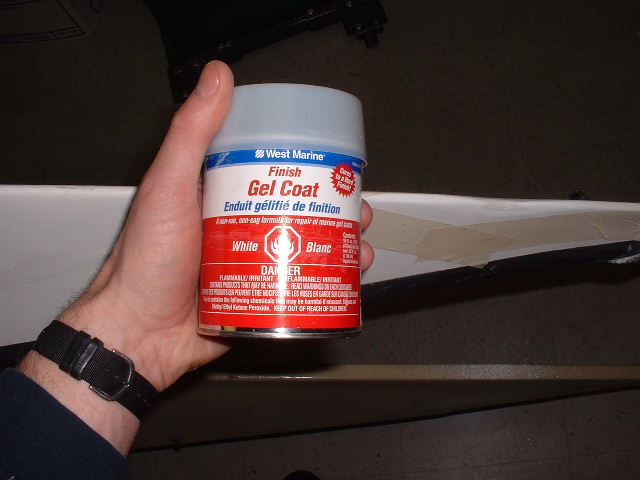
This is “finish” gelcoat, which will cure fine when exposed to air. “Laminating” gelcoat, which is much more common, will not. Be sure to get the right product. If you cannot find finish gelcoat, you may be able to find the wax additive for laminating gelcoat that will enable it to air cure (finish gelcoat already has the wax added).
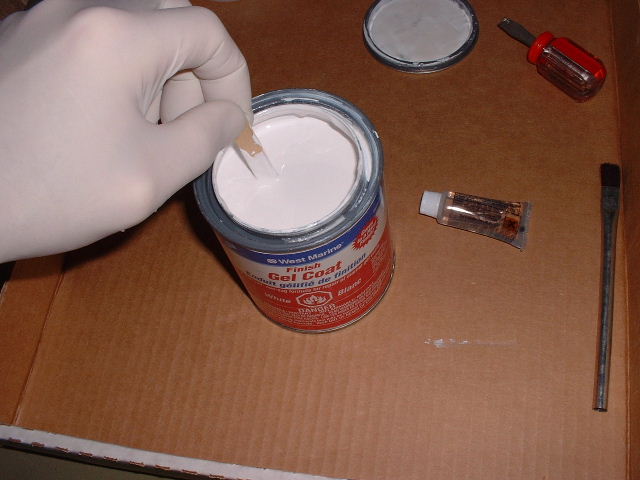
Make sure any settled solids are well mixed into the gelcoat. Wear gloves, protective eyewear and an organic vapor respirator when working with gelcoat; it’s nasty stuff.

Put a small amount of gelcoat in a solvent resistant container and add hardener per the instructions. Mix thoroughly for at least one minute. Be careful with the hardener as it’s very toxic; don’t let it get on your skin.
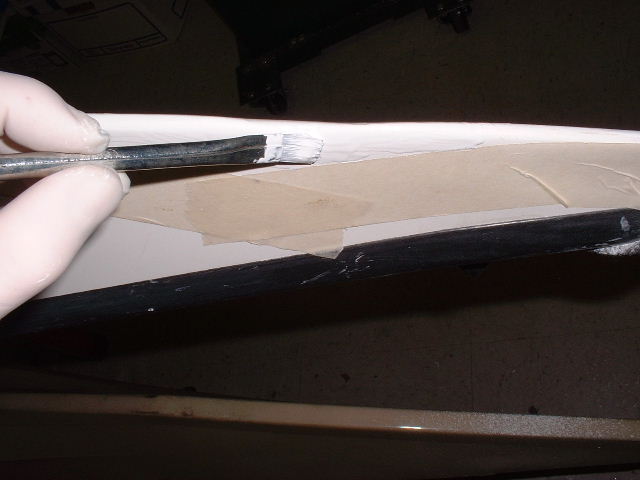
I usually apply gelcoat with a disposable “acid” brush. It will be somewhat runny at first. Be careful not to create bubbles as you apply it.
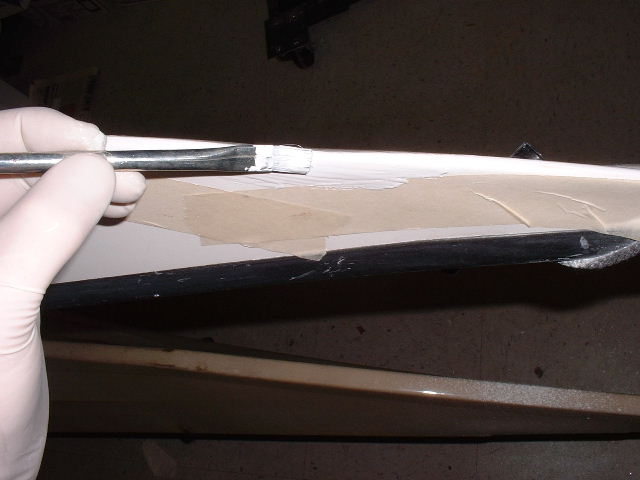
Build up the gelcoat in layers. As it begins to gel, it this will become easier, but you will need to move more quickly before it becomes too thick to apply. Build it up until it’s slightly proud of the surrounding surface. If you need to build it up a lot, it may take another batch or two.
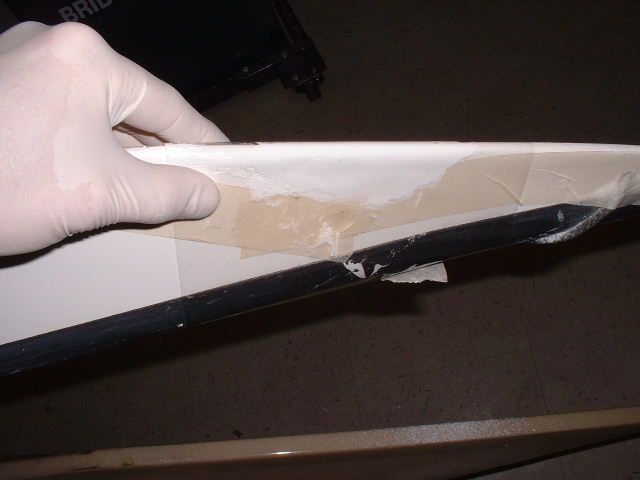
Here, a piece of clear Mylar is wrapped around the repair area. This isn’t absolutely necessary, but it can help to hold the gelcoat in place on a vertical surface like this. Mylar is often included in gelcoat repair kits.
Some people claim that they can apply Mylar and get a perfect repair that requires no sanding, but I’ve only seen that work with small repairs on relatively flat surfaces.
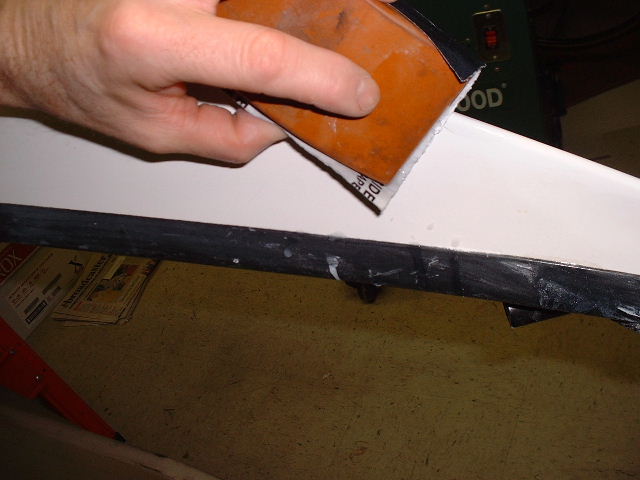
Once the gelcoat is completely hardened (only a matter of hours, generally), it’s time to blend the repair into the original surface. For the initial wet sanding of new gelcoat, I start with 220 grit wet/dry paper on a hard rubber block, concentrating on taking down the high spots and blending the new material into the keel line.
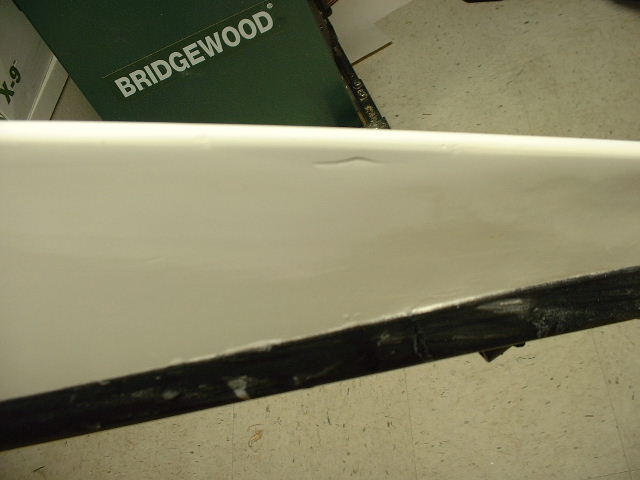
One problem with using a Mylar wrap is that it can trap air bubbles, as seen here. It’s no big deal, just clean off the area and apply more gelcoat.
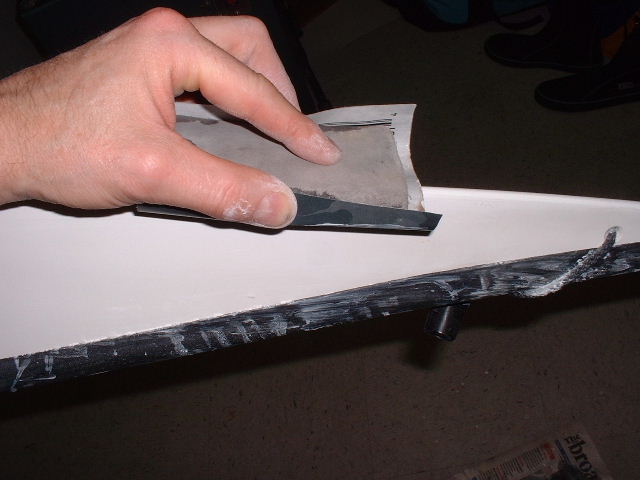
Once all the excess gelcoat is removed, I switch to 400 grit wet/dry paper on a foam block to blend the patch into the contour of the hull. Use caution not to sand the surrounding gelcoat, as on some boats it is quite thin and you could sand through it.
Once blended, I use 800 grit to remove any remaining scratches and bring out the shine somewhat. Continuing to 1500 or 2000 grit will create a pretty good shine.
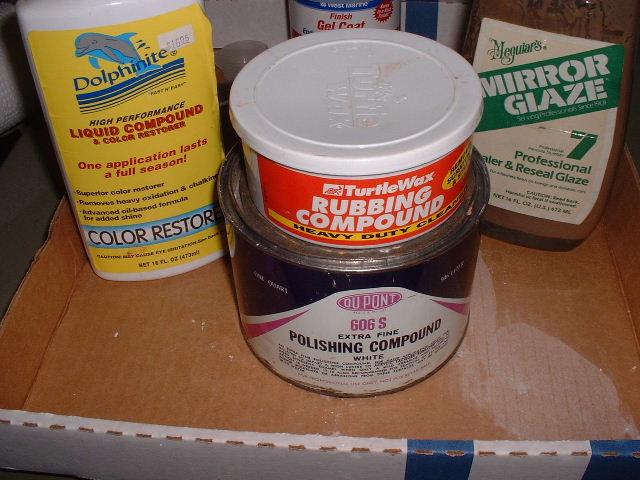
Here are several products that can be used for final polishing of the repair. On this one, I used polishing compound on a rag, followed by Mirror Glaze Sealer and Reseal Glaze. Dolphinite can serve both purposes.

