
Even if you’re not a “Tsunami Ranger” type who enjoys bashing your kayak on rocks, there’s still a reasonable possibility that your composite kayak will sustain some fiberglass damage during it’s life. While fiberglass repair is more involved than gelcoat repair, it’s not “rocket science”. However, we’re talking about structural repair, so doing it right is a safety concern. If, after reviewing this tutorial, you question whether you can perform the repair properly, seek a professional to do the repair work.
Speaking of “professionals”, it’s always best to find someone who is experienced with repairing kayaks, canoes and other thin-skinned craft. There’s a BIG difference between repairing a 1/8″ thick kayak hull and a 1/2″+ thick powerboat hull. People who repair the latter use power tools that can burn through a kayak hull in a heartbeat. They also use materials (“woven roving” and other thick forms of fiberglass) that aren’t suitable for use on kayaks. Make sure that any repairer you choose understands the difference. I’ve seen some really horrendous repair jobs done by well-meaning boat repairers who simply didn’t understand kayaks. This may be the best reason for learning to do it yourself…well that and the fact that even a repair like the one shown here will cost a pretty penny.
When it comes to materials, I have preference for using the best and strongest, which means epoxy resin and woven fiberglass. While most kayaks are built using polyester or vinylester resin and you can certainly use them, I want the strongest bond possible, so epoxy is the obvious choice. Some boats, such as the one in this tutorial, are still built with chopped-strand fiberglass, but in the interest of strength again, I repair them with woven cloth. If you’re repairing a Kevlar or Carbon fiber boat, you should use those materials, but the techniques shown here will work with them, too. The one exception is that you should not sand Kevlar. Us a sharp scraper (I like carbide scrapers) to shape Kevlar and you’ll have none of the “fuzzing” issues that occur if you try to sand it.
All of the resins mentioned above are somewhat hazardous to use. Polyester and Vinylester resins and their hardeners are toxic, and uncured epoxy can cause allergic reactions in some people, so wearing gloves is mandatory. One should always wear eye protection and I recommend an organic vapor respirator, especially when working indoors.
All of that said, let’s dive into the process of repairing a fiberglass kayak…
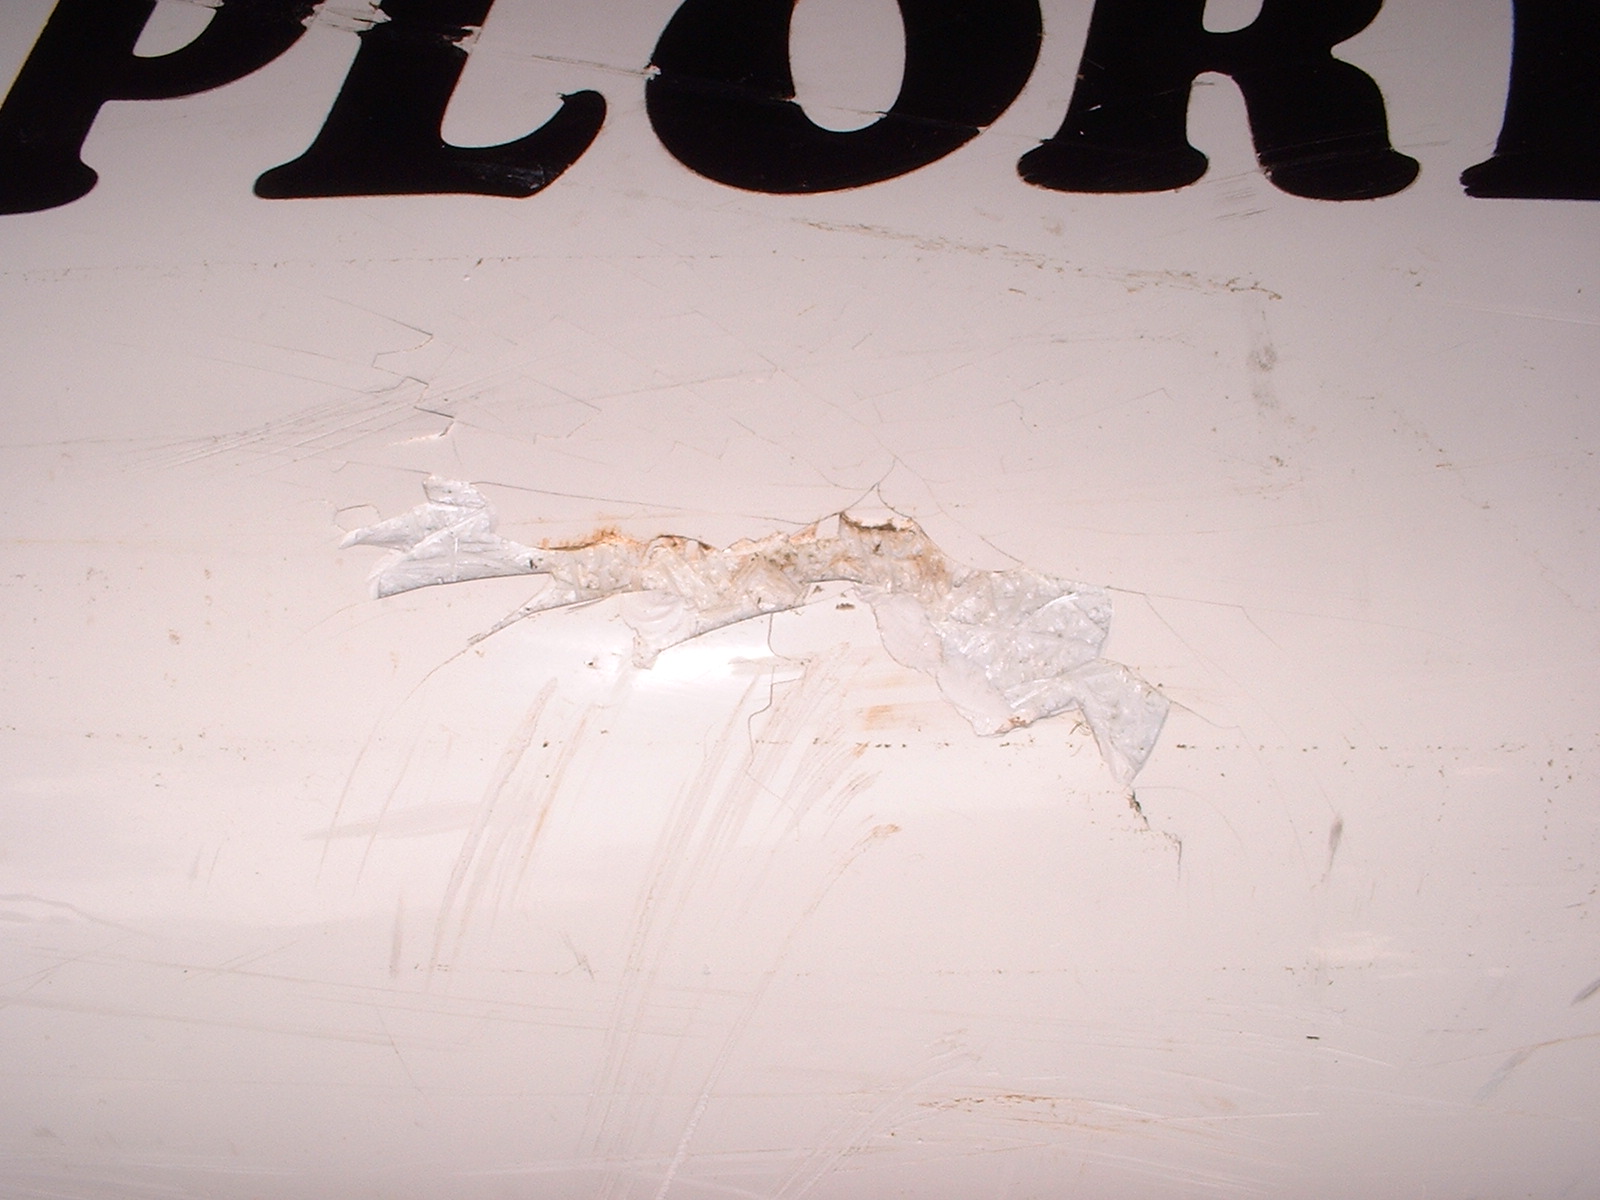
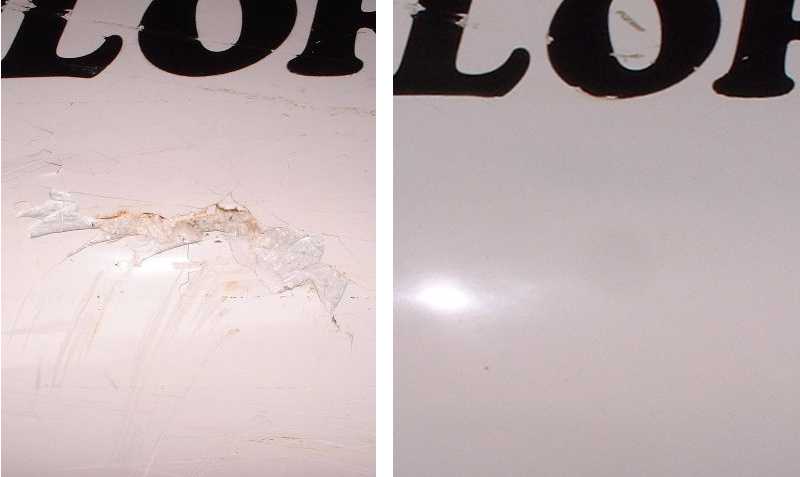
A friend’s Explorer suffered some nasty damage. The damage to the glass underneath was much more extensive than what you see here, due largely to the use of chopped strand mat in the construction.
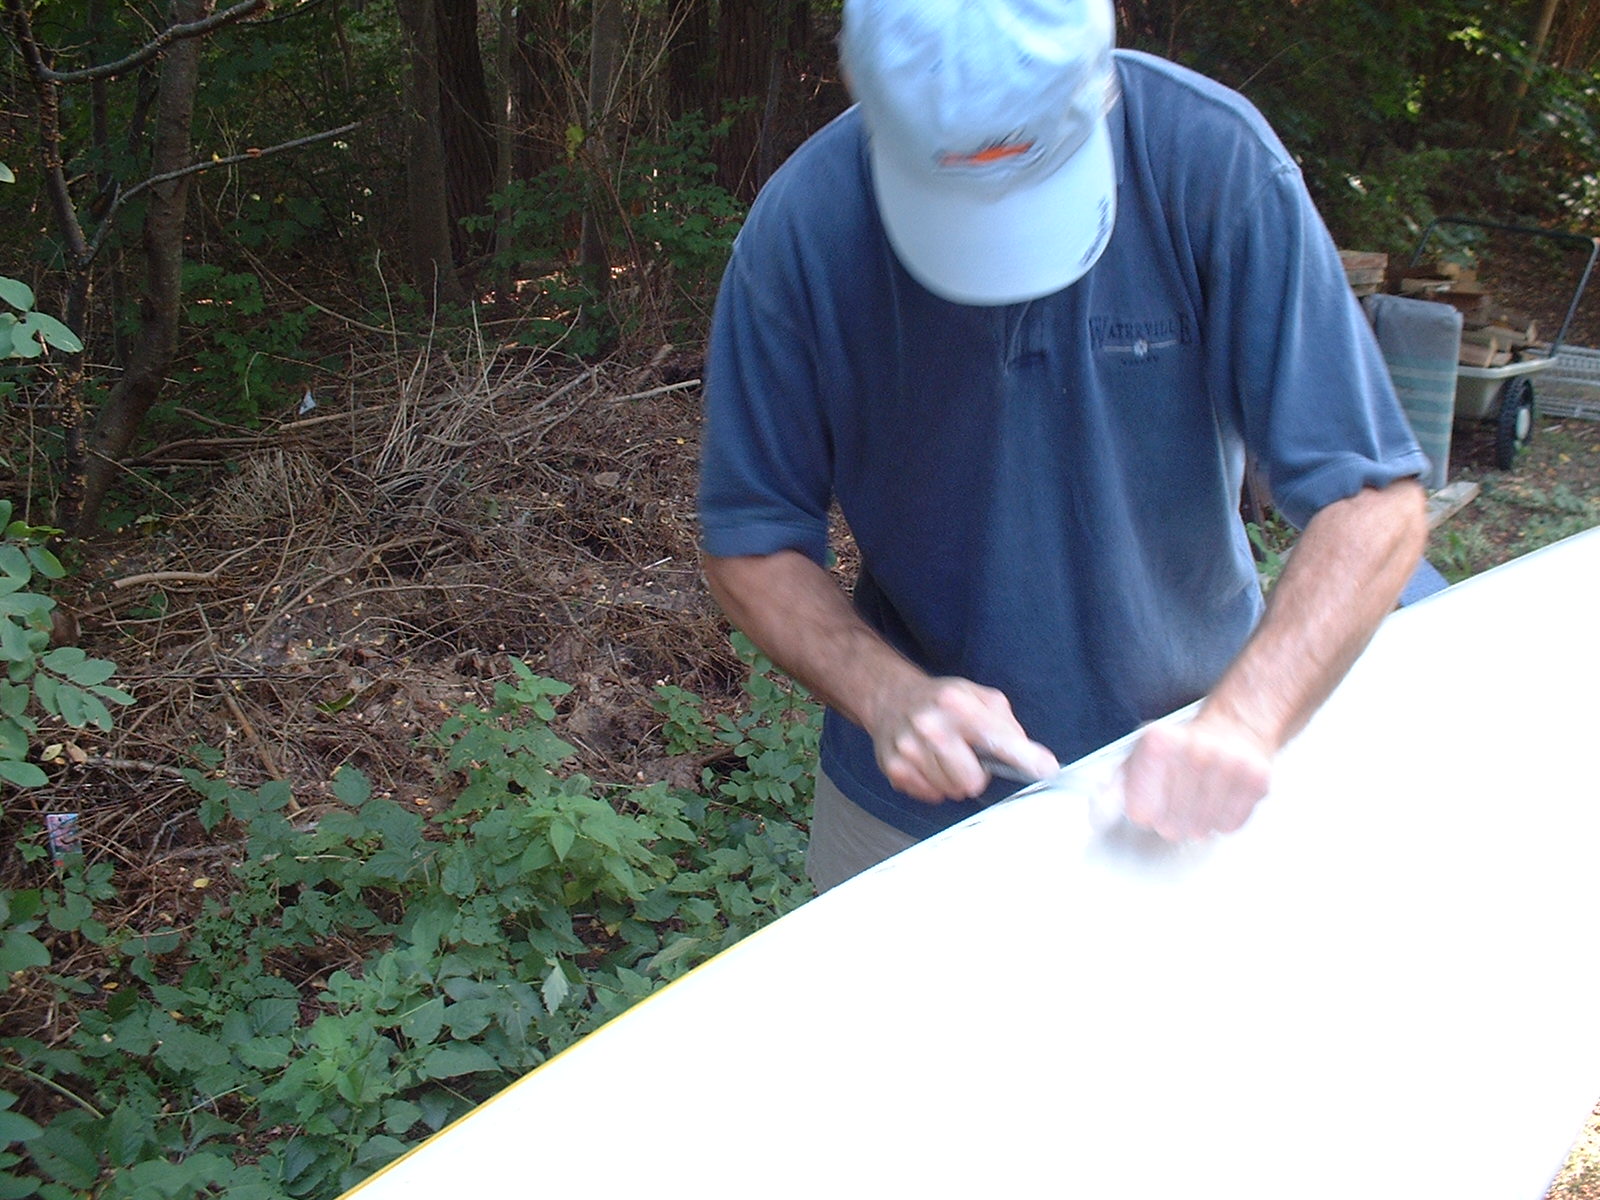
All of the damaged fiberglass must be removed and replaced with new fiberglass. Here, I’m using a rasp to remove the bulk of the material before switching to a Dremel tool. The edges of the hole will be feathered with 80 grit sandpaper on a sanding block.
A this point, the photographer (me) had a minor malfunction and the photos of some steps were lost. After all of the damaged fiberglass was removed:
- I lightly sanded the interior of the hull in the damaged area
- Epoxy was applied to the area
- A single layer of fiberglass was applied, overlapping the edges by at least 1″
- A piece of polyethylene, cut from a milk jug, was placed over the patch
- Foam was stuffed between the seat and the polyethylene to hold it in place
Reinforcing the area to be patched from the inside is preferable, whenever it’s possible. Aside from adding more strength to the repair, it creates a solid platform for the external repair layers. Unfortunately, there are many places in a kayak that are difficult to reach, so this options is not always available.

After removing the damaged glass, we were left with a rather large hole. The edges were feathered with 80 grit sandpaper to provide greater gluing surface. I’ve already epoxied a single layer of new glass to the back side of the repair, using a piece of a plastic milk jug as a form. The form is held securely in place with a foam pad wrapped in plastic and wedged between the seat and the hull. In areas with more room, a paddle float or float bag will work. For chines and keels, I often carve Minicel or rigid foam backers that mimic the hull contour.
NOTE: In retrospect, I could have removed a bit more material and created a rounder hole. That would have made it easier to cut the patches.
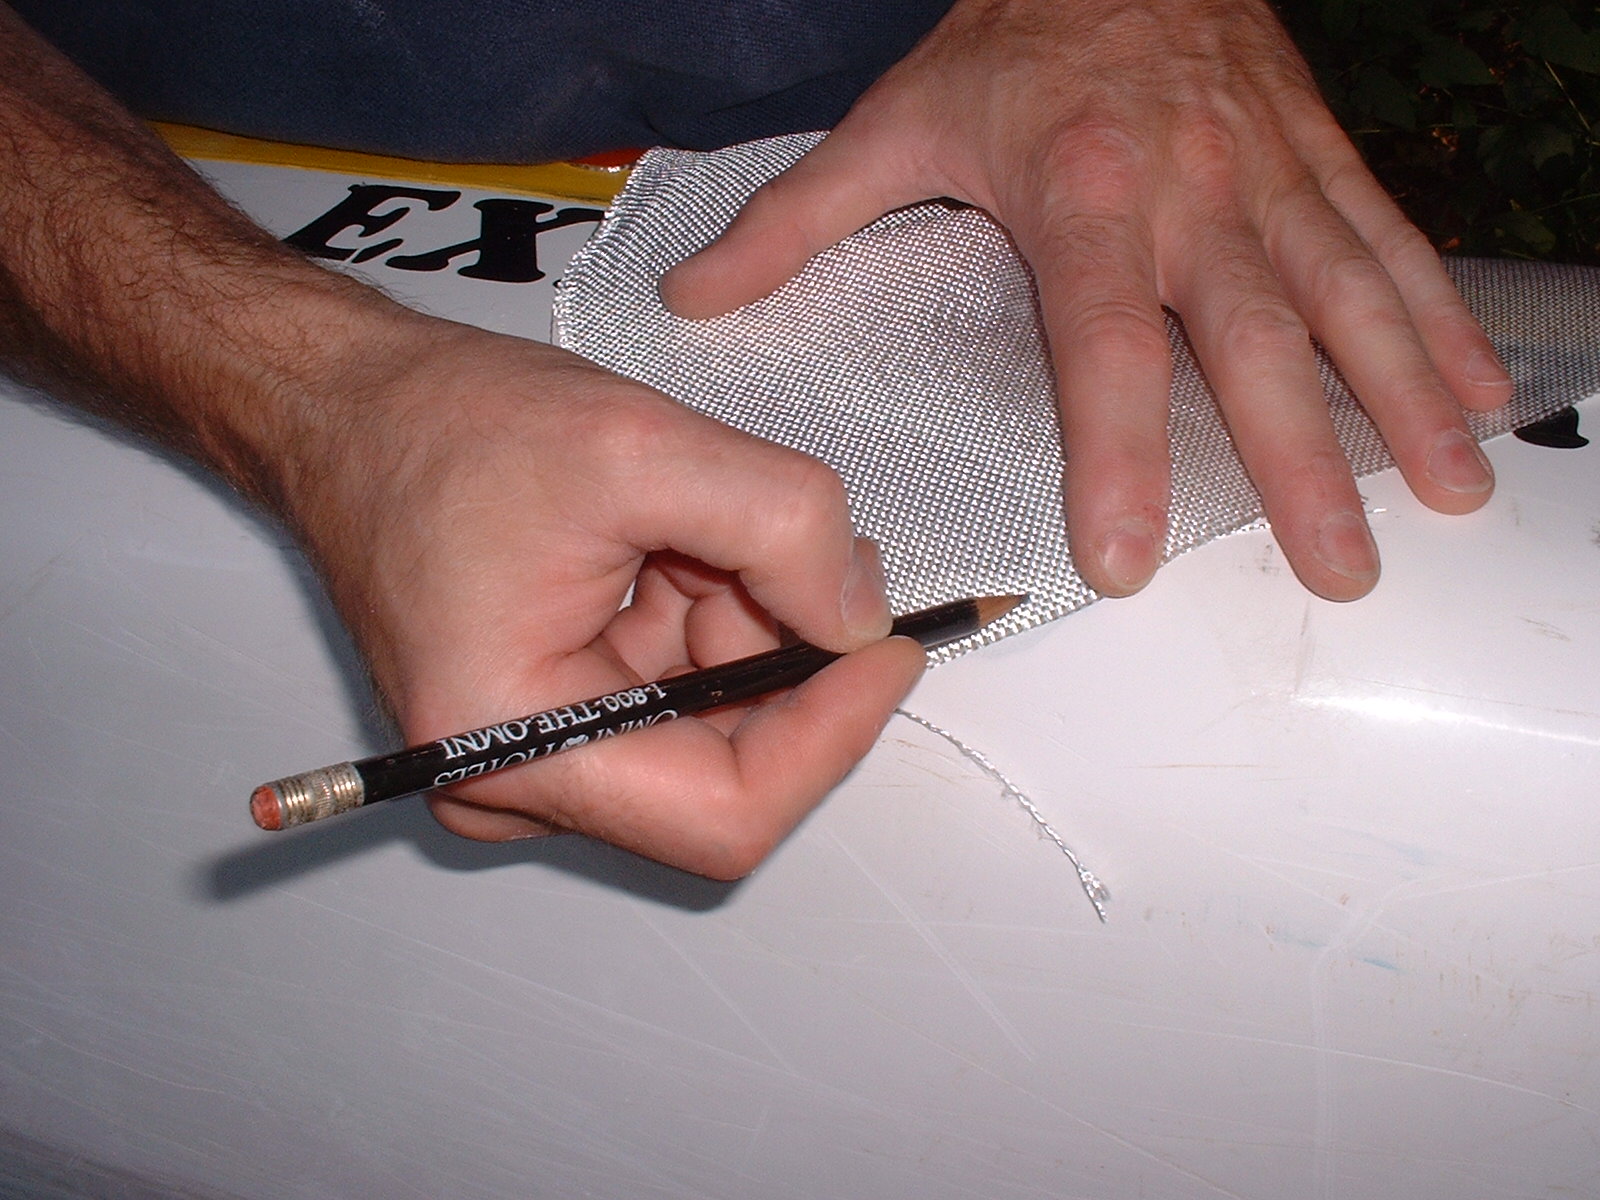
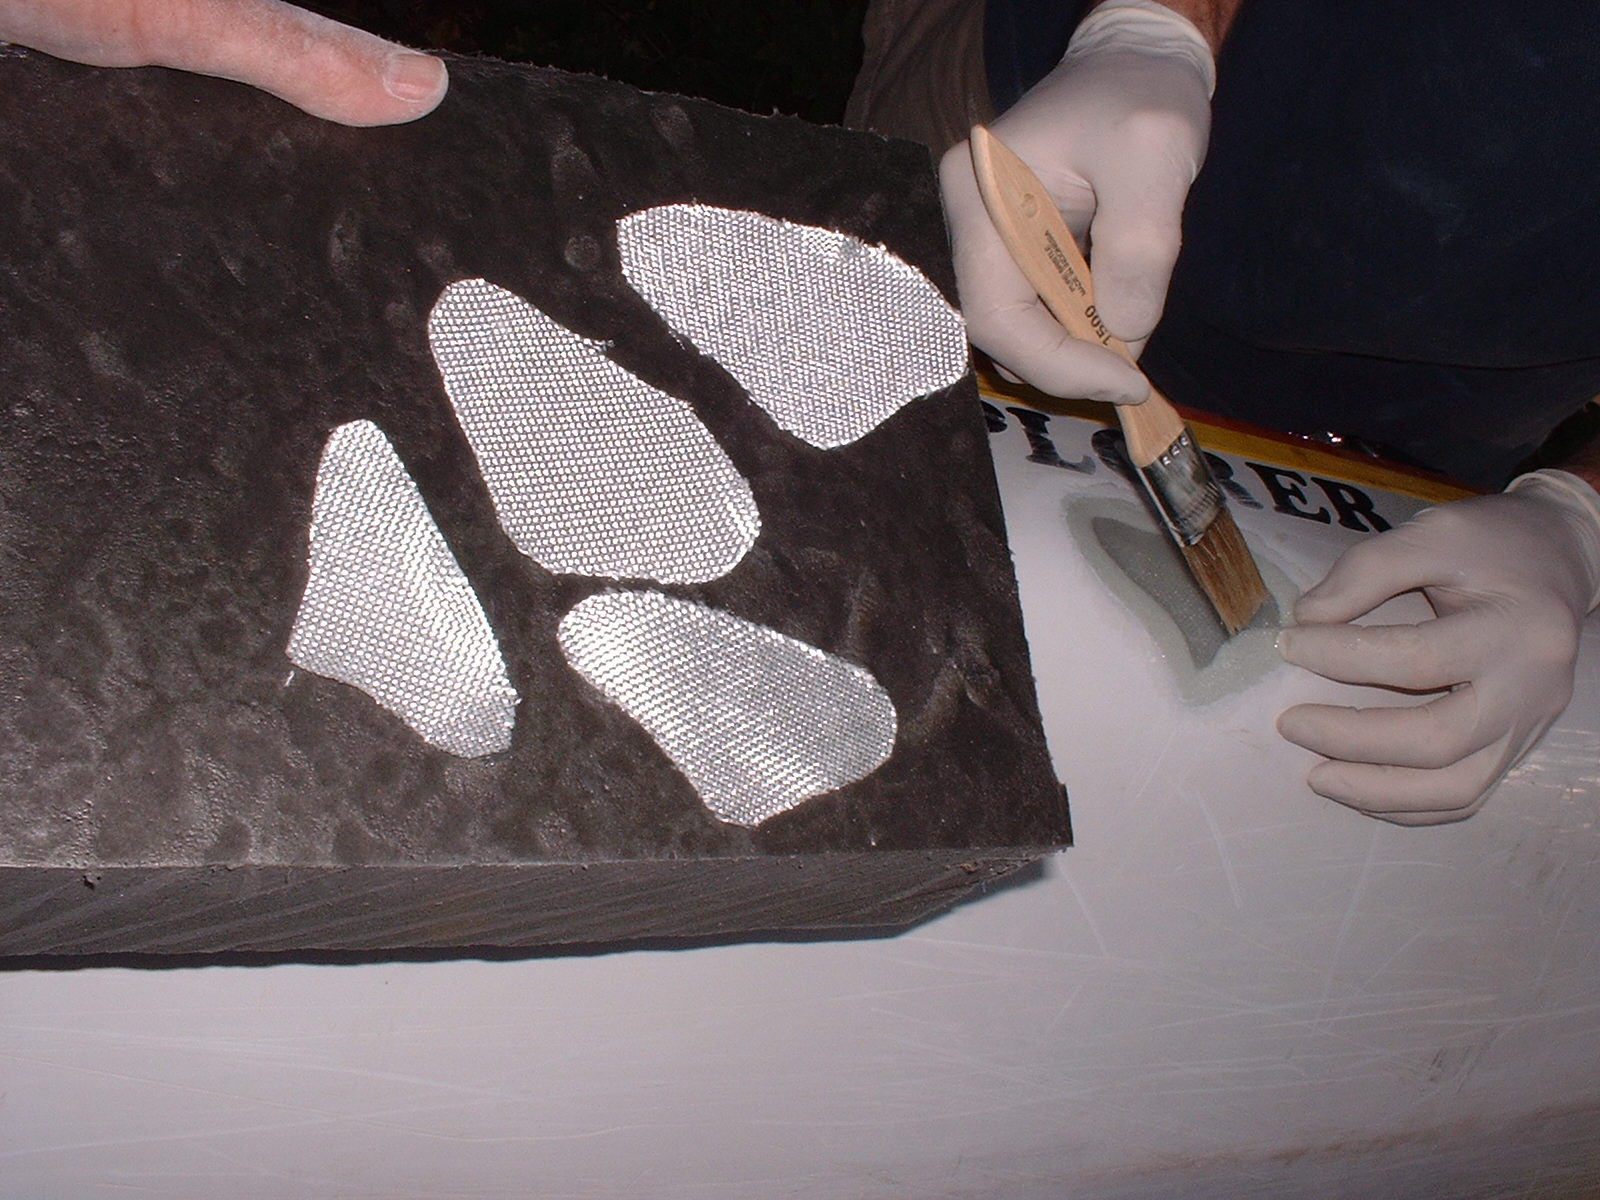
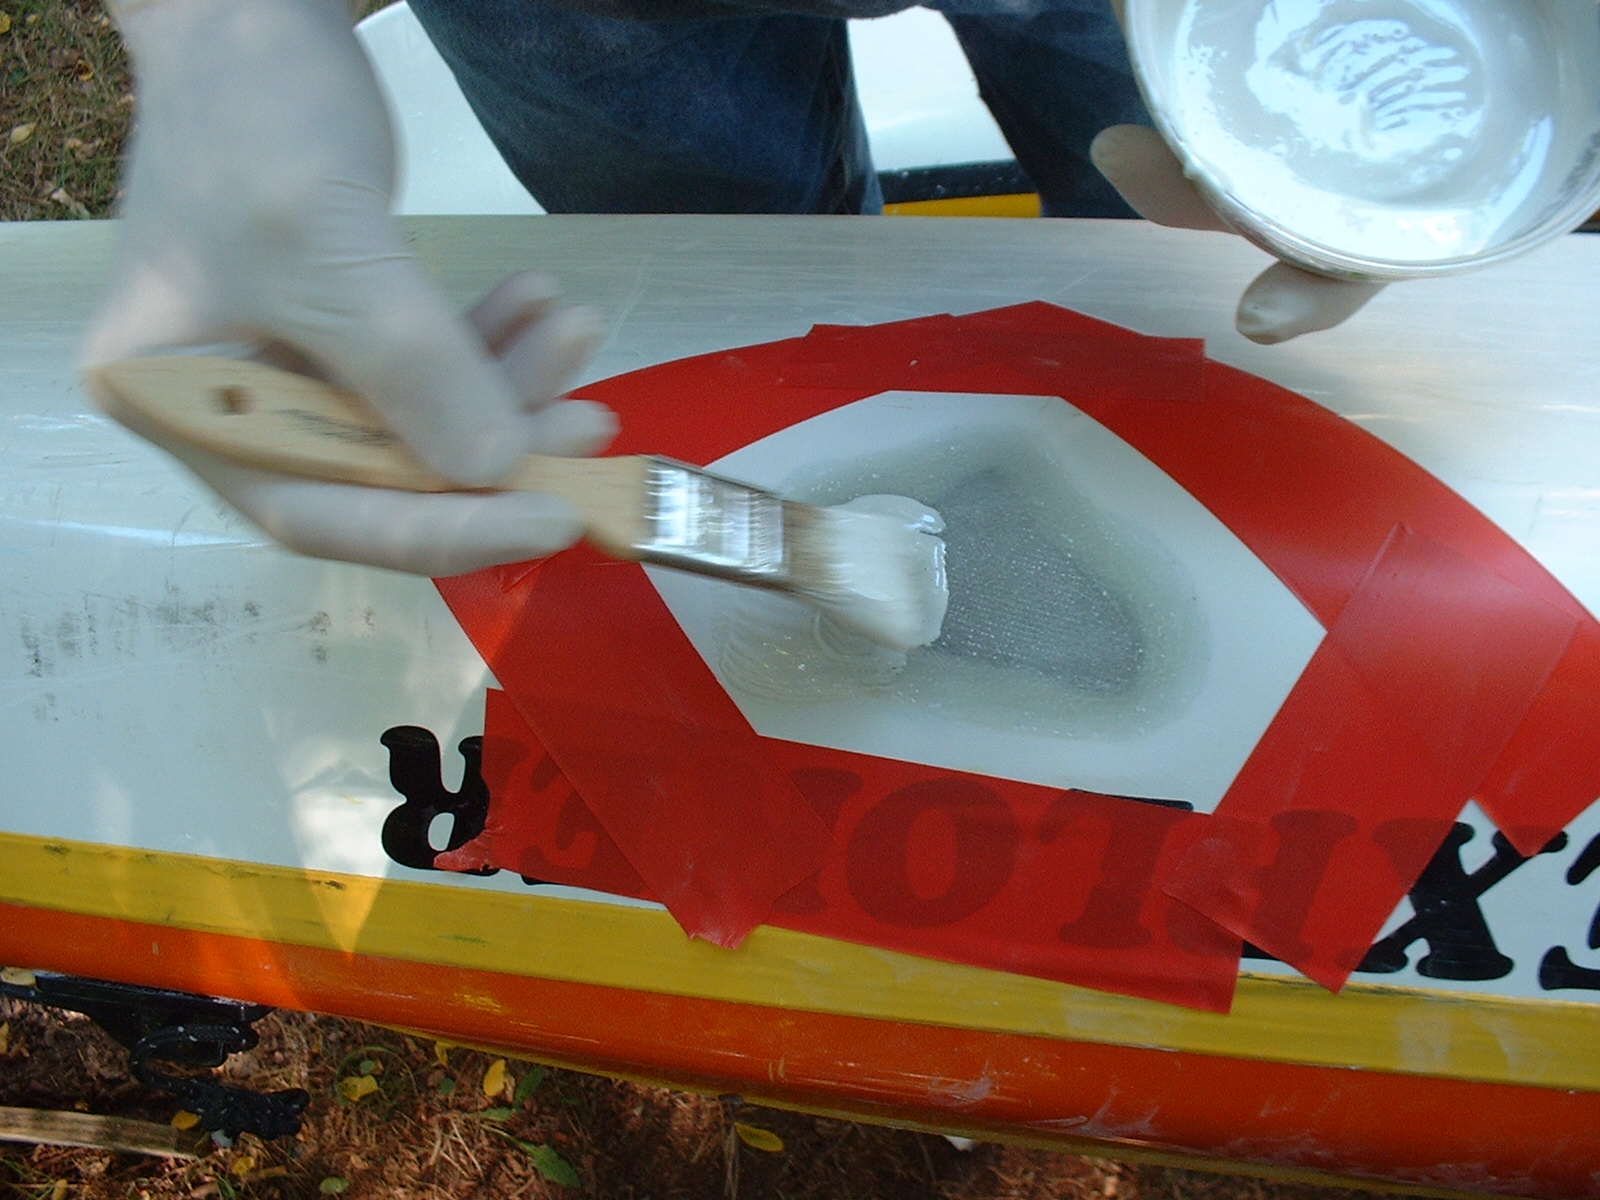
I trace around the outline of the damage area and cut a patch that will overlap the feathered fiberglass, but not the gelcoat. Make sure you cut inside the marked line, as you don’t want the pencil lead in the patch.
Epoxy is applied to the outer surface of the repair.

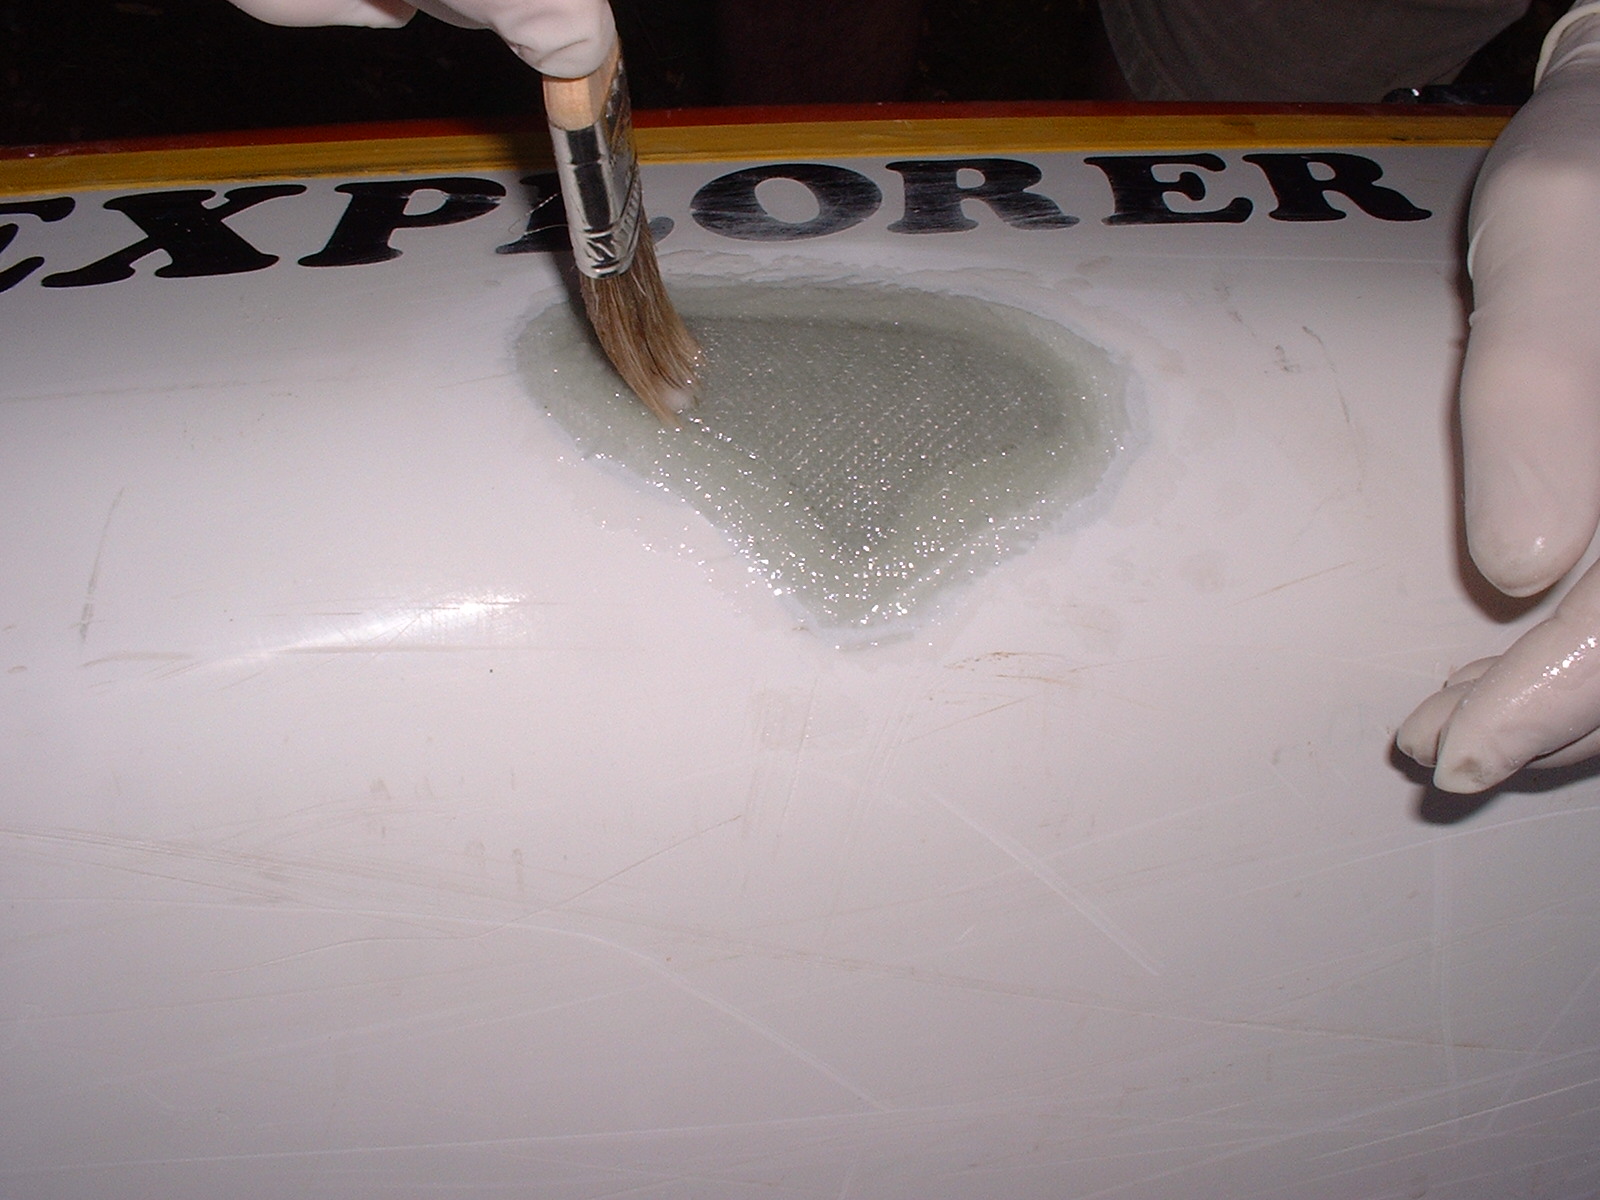
The first layer of new glass cloth is laid into the epoxy, then more is applied over it until it is saturated.
It appeared that five layers would be necessary to achieve similar thickness to the original glass. Each one is progressively smaller, so that the thickness builds up evenly across the patch. The goal is to build up the patch for strength, while leaving room for gelcoat without creating a lump on the hull.
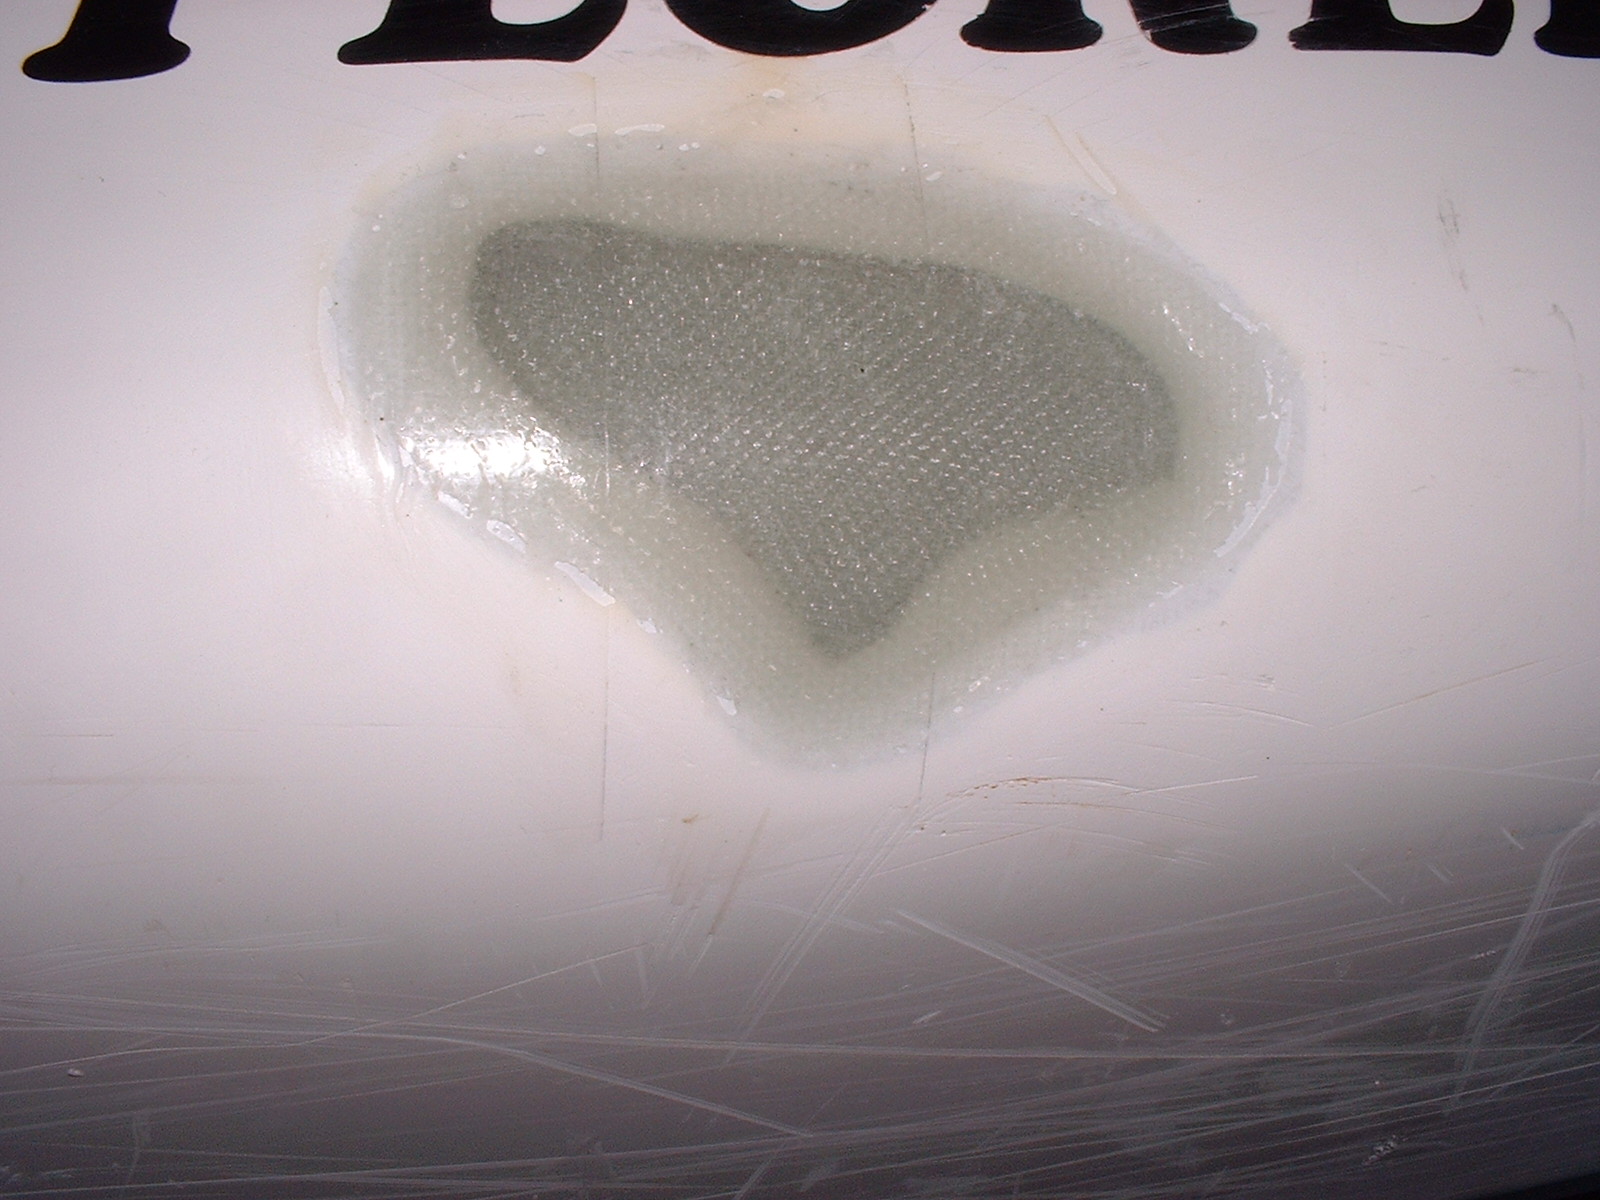
All five layers have been laid down and wet out with epoxy. It’s important to use no more epoxy than is necessary to completely wet out the fabric.
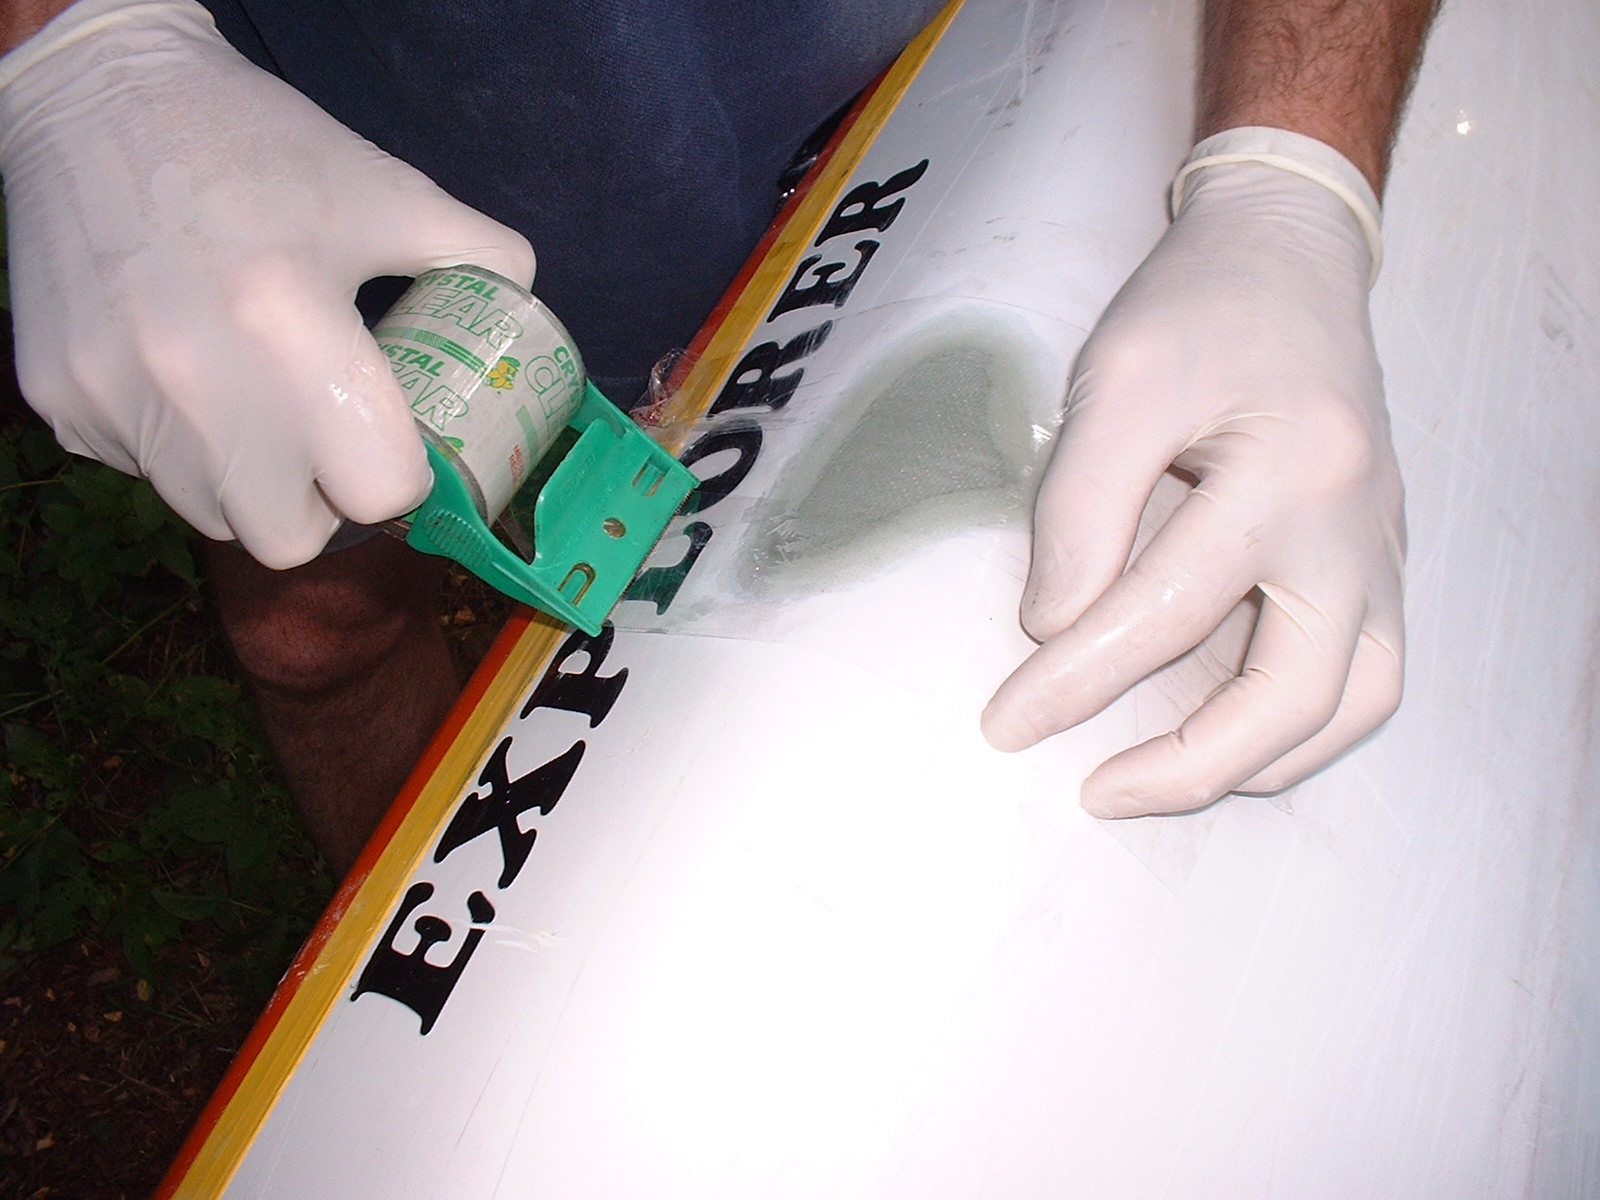
I like to use packing tape to secure the patch and put a bit of pressure on it to keep the glass layers in close contact with each other. You could call it “poor man’s vacuum bagging”. Epoxy will not affect the tape, but you cannot do this if you’re using polyester or vinylester resin without putting a layer of polyethylene sheet between the patch and the tape. Otherwise, the tape will dissolve.
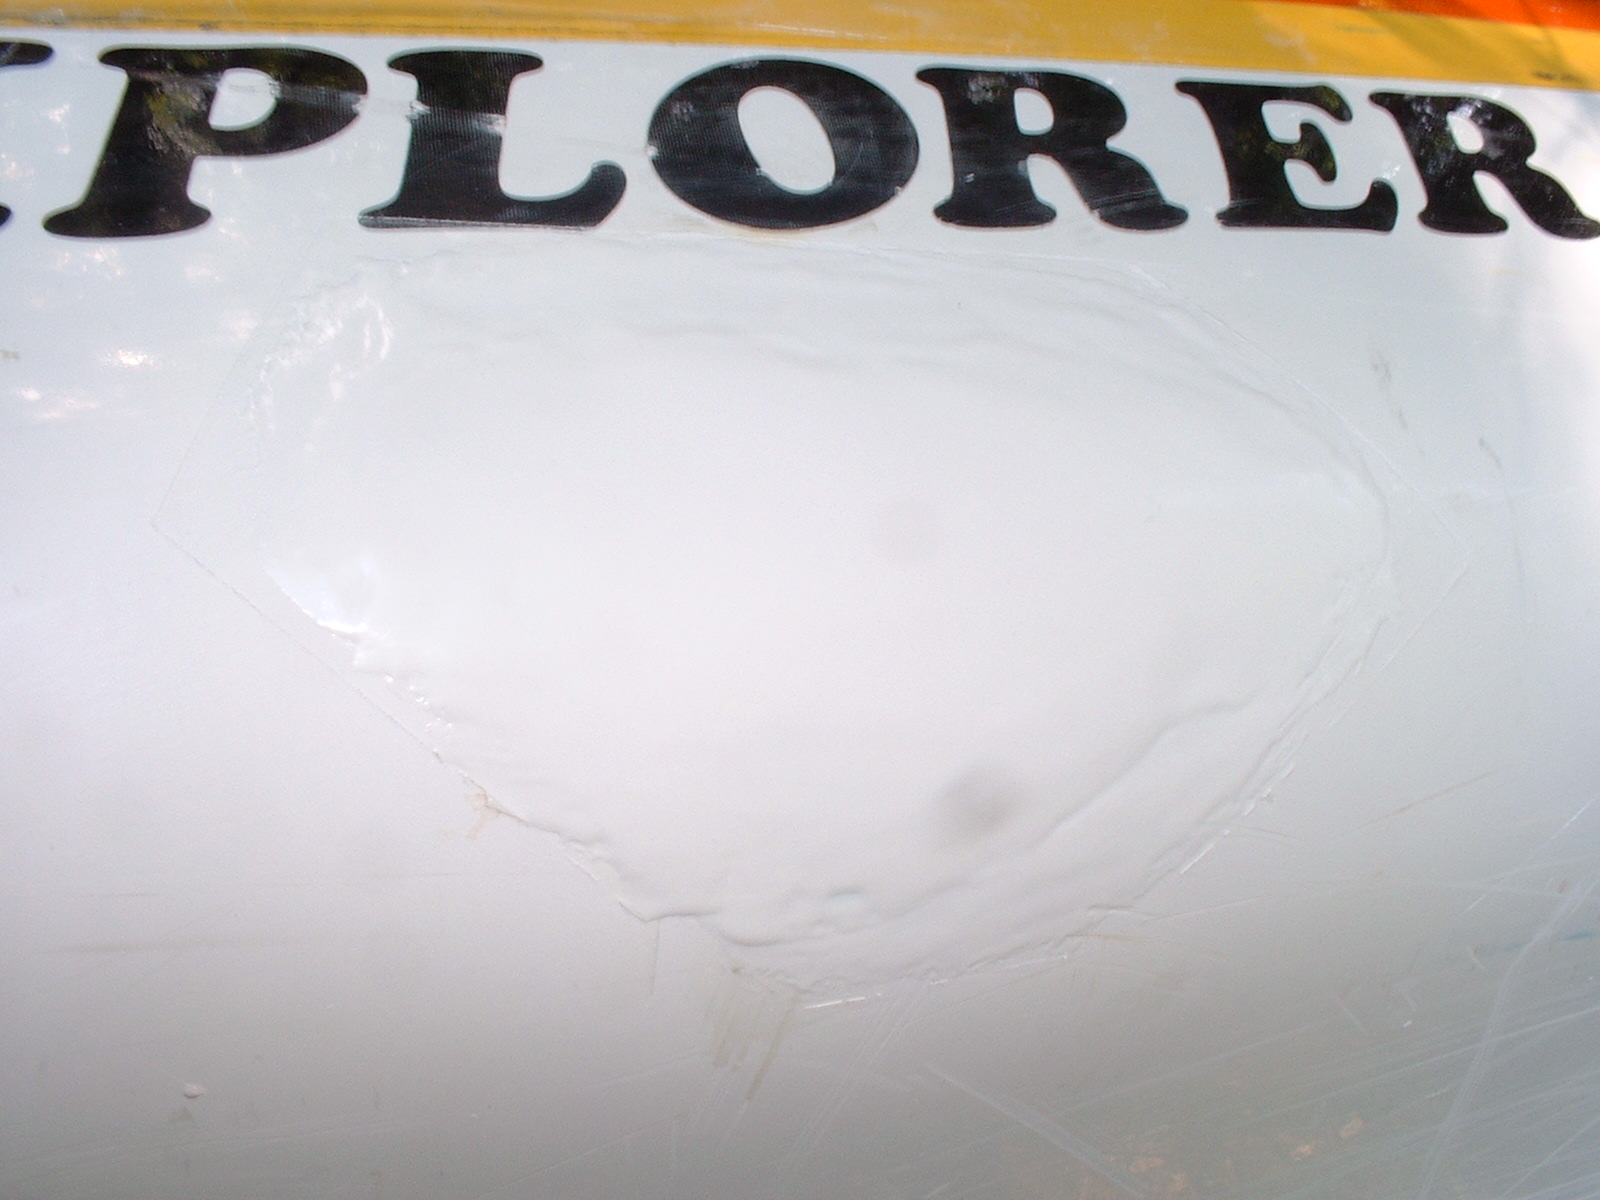
After curing overnight, the patch is hard and boat is seaworthy once more, but there’s still more work to be done to make it pretty again.
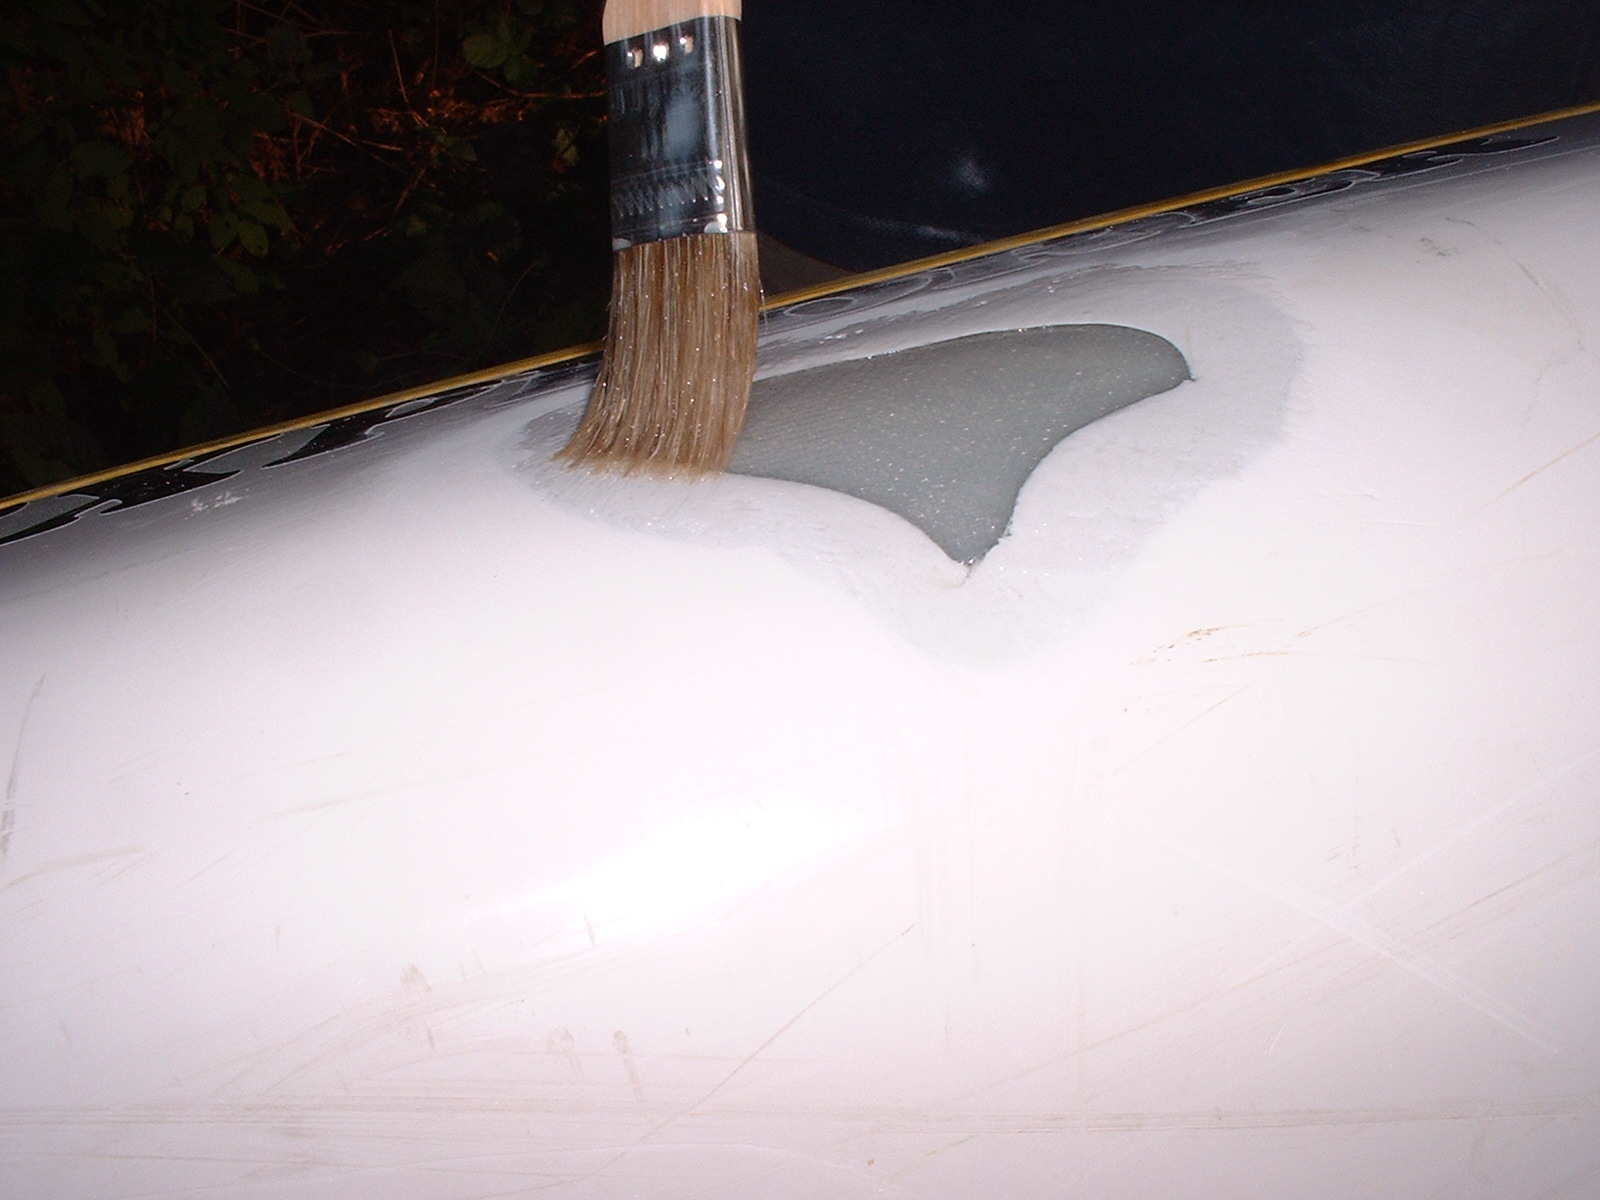
After scraping and sanding the patch to remove excess epoxy and feather it into the hull, the area is masked off to protect it from gelcoat runs. Finish gelcoat is applied over the patch. It’s often said that gelcoat will not adhere over epoxy, but my experience has been that it works fine, as long as the epoxy is FULLY CURED, SANDED and CLEAN.
The gelcoat is built up until it’s slightly above the height (“proud”) of the original surface. This may take several layers.
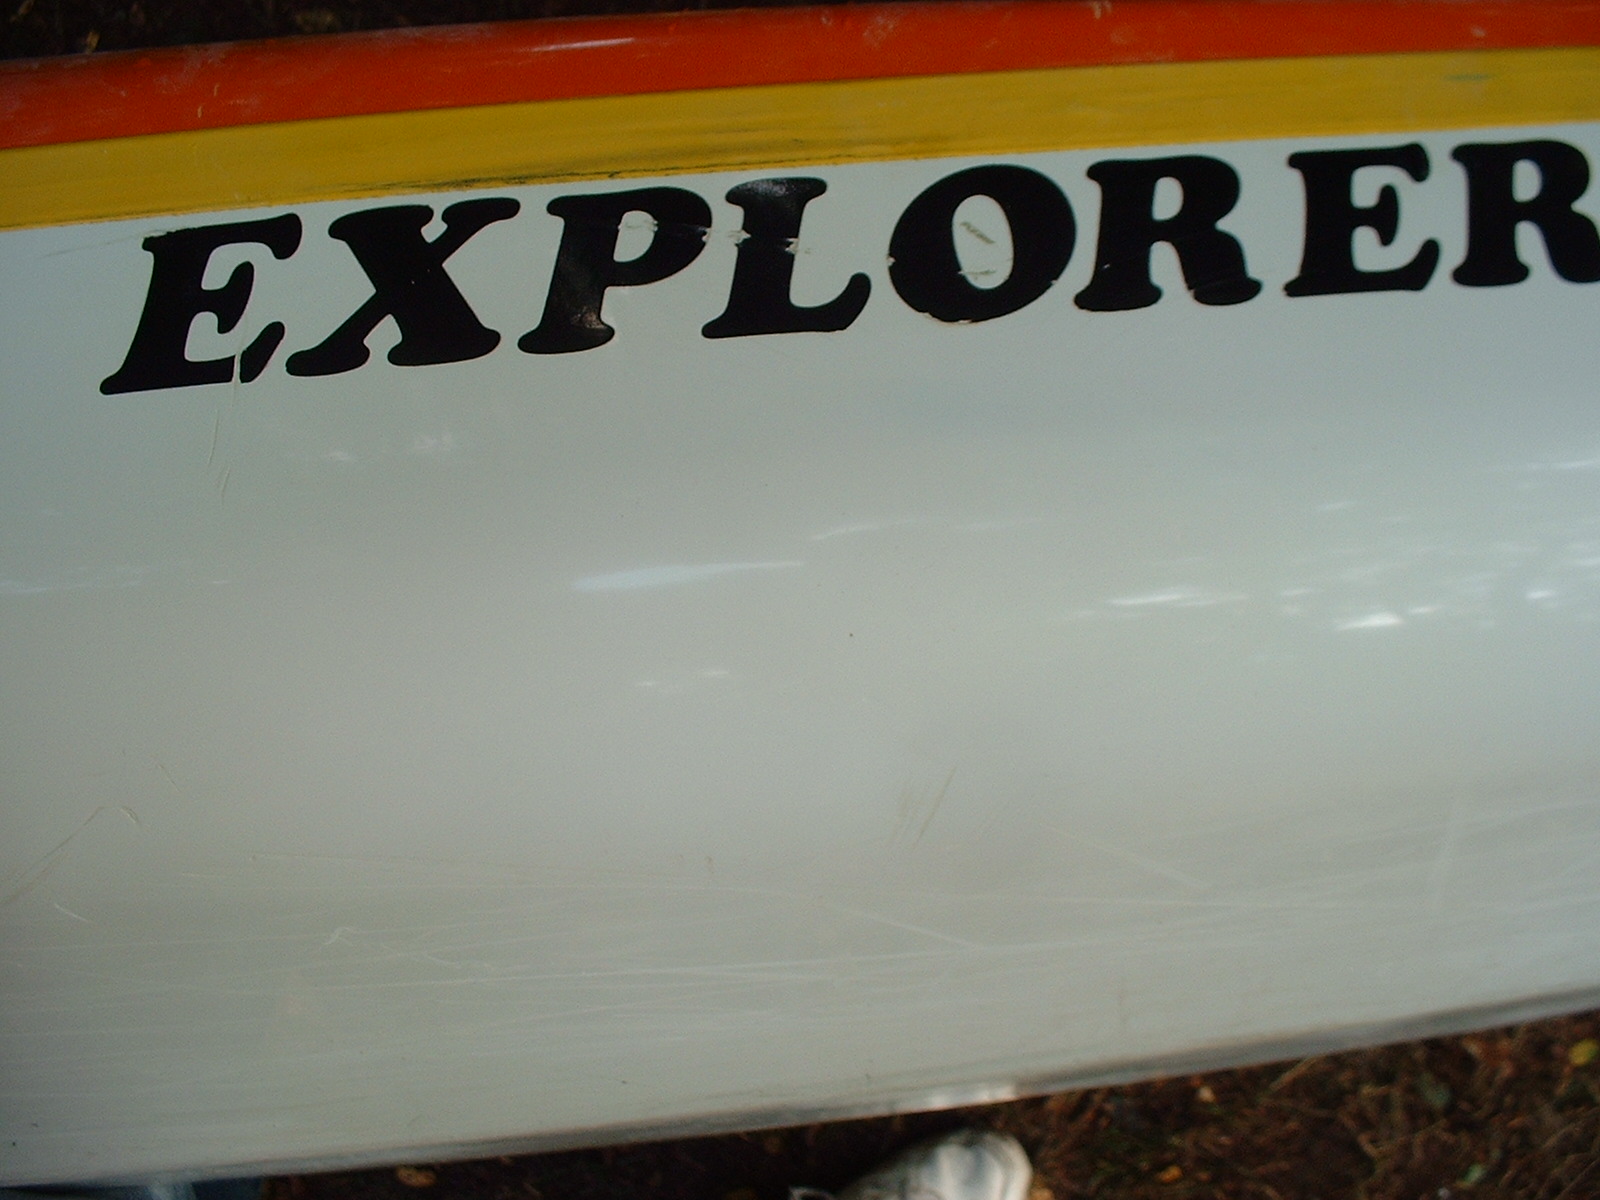
After wet sanding with 400, 800 and 1500 grit, then buffing with rubbing compound and polishing compound, the only evidence of the repair is that the area is cleaner and shinier than the rest of the hull. For more details on the gelcoat work, see my Gelcoat Repair tutorial.
Not bad, eh?